Tolly Dolly Posh Fashion
Tolmeia Gregory New Site
Browsing Tag

upcycling ideas

Upcycling Clothes I Never Wear | Handmade Scuba Bikini

By May 30, 2018 DIY & Lifestyle

Summer (and its storms, it seems) is officially in full swing and fortunately, it came at just the right time for me to finish one of my recent DIY and upcycling projects. Transforming your unused clothes is just one of the many ways you can create a more sustainable wardrobe, so, here’s an example of how to do just that…

How to Make a Handmade Bikini out of Old Clothes

How to Make a Handmade Bikini out of Old Clothes


HANDMADE BIKINI – Old Scuba Top (Glamorous – old) // Thread // Sewing Machine // Pins


I’m very grateful for the fact that most of my summer is filled with bright, sunny days, hot enough for a dip in the pool on a regular basis. However, this does mean I use swimwear a lot so eventually, my very slim choice of bikinis and one-pieces (I’m talking one bikini, one swimming costume) will have had their time. My favourite bikini is now ill-fitting and the swimming costume I’ve had for years is a little on the tight side.

I’d been wracking my brain for months on what I could do with certain unworn items in my wardrobe (or in the bag under my bed) and the pink scuba top I owned was proving difficult to work with. That’s until I had a lightbulb moment and decided to take the fabric literally – a scuba top will become a scuba bikini.

Technically, the fabric is just a type of neoprene with no real water-resistant features but it does look and feel just like the sort of material a lot of structured swimsuits are made of, so I decided to give it a go. After all, I wasn’t wearing it so it was a risk worth taking…

How to Make a Handmade Bikini out of Old Clothes

How to Make a Handmade Bikini out of Old Clothes

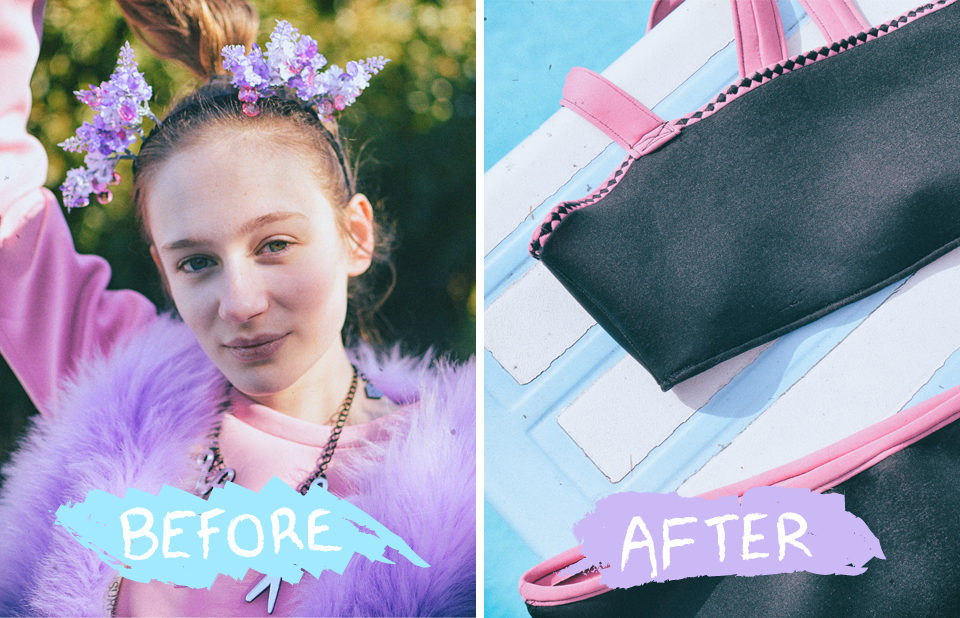
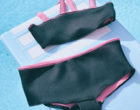
You can see in the ‘before’ image above what the top was like previously (the picture is from an outfit post quite a few years ago – leave a comment if you remember it!). A long-sleeved top is a great source of fabric for upcycling because you have a lot of space to work with.

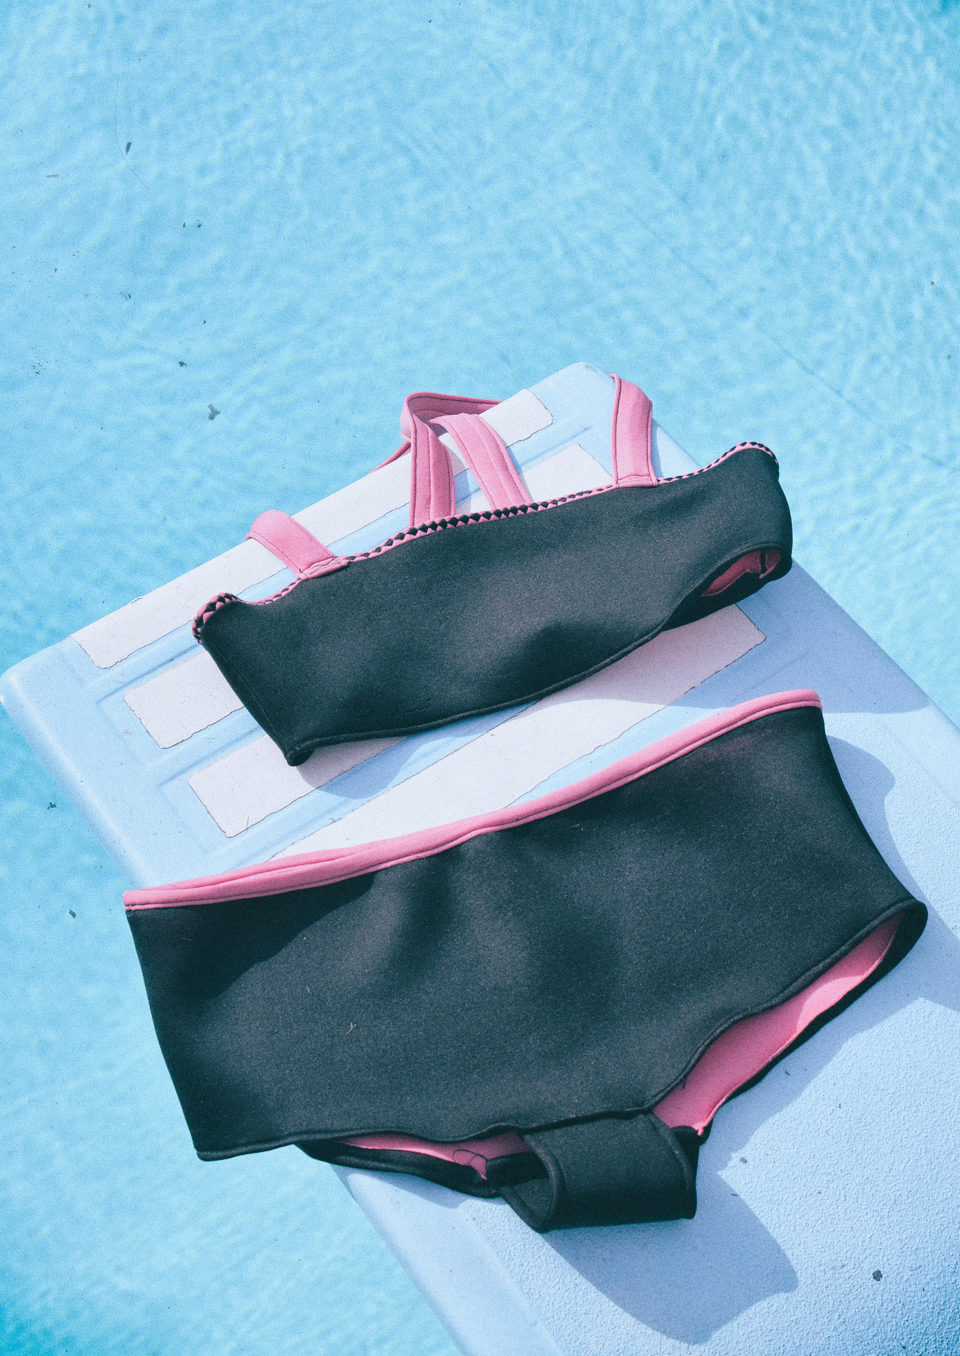
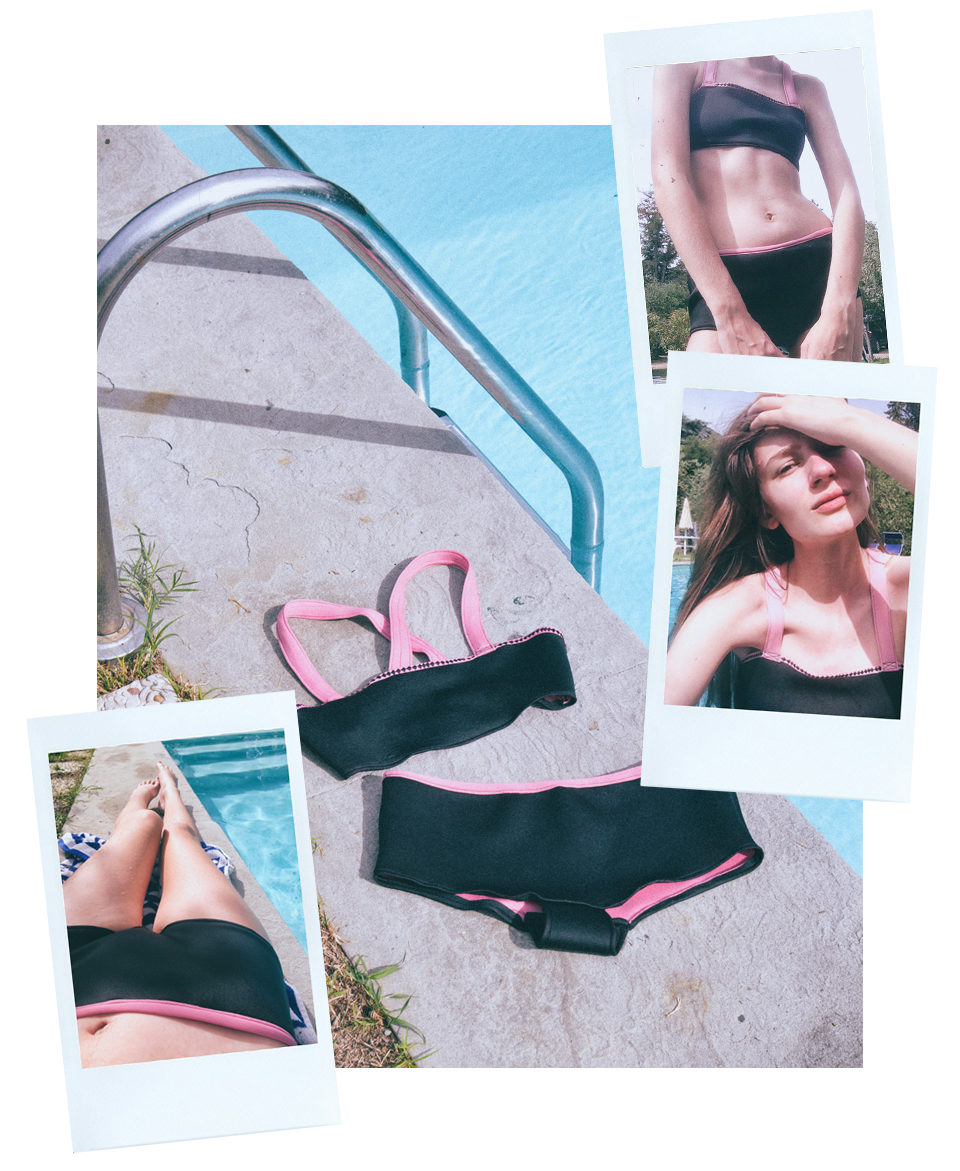
I based the sizing and shape on underwear which fits me nicely; a pair of high-waisted bottoms and a crop top. I adapted things slightly to make it more of a unique design, so, the top became more square shaped and the bottoms became more like a pair of boyshorts that cover me up comfortably.

I created pattern pieces as I went along but I think for a beginner, following what you already own might be the best way to go! You can then personalise and alter your bikini to exactly how you’d like it.

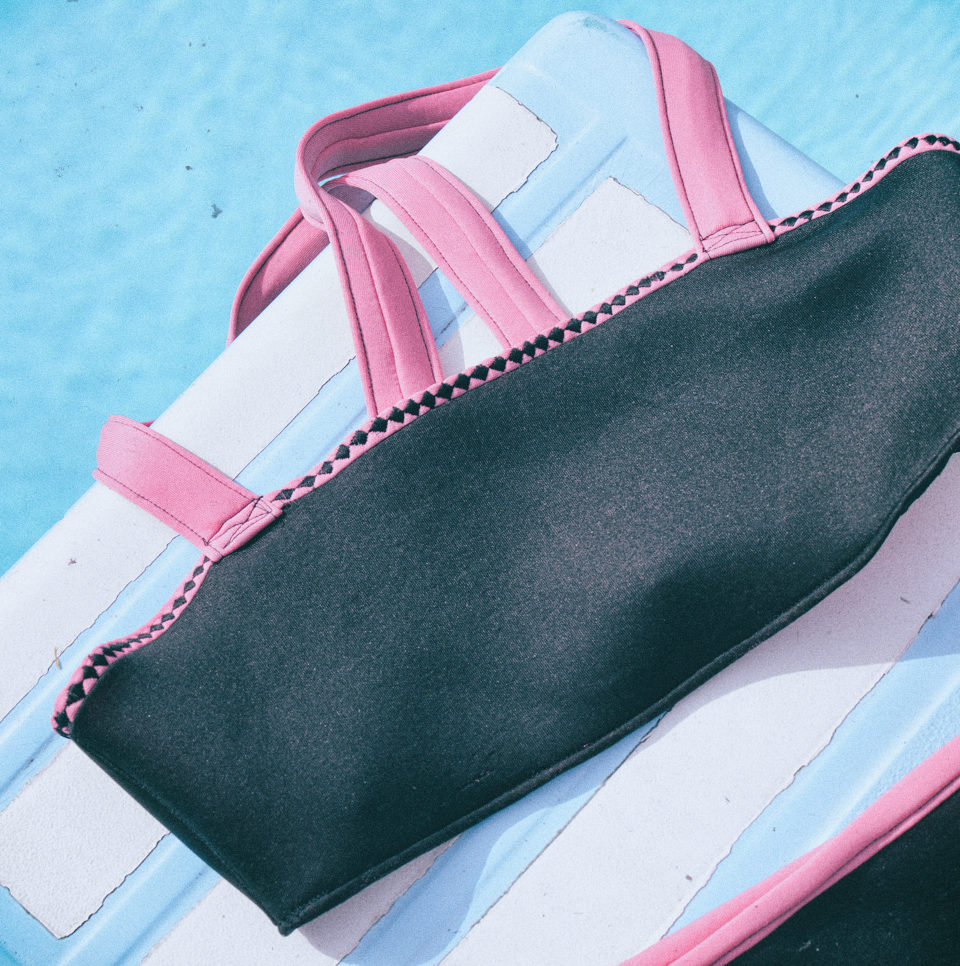
It also allows for wiggle room for details like the straps. I knew from the beginning I wanted them to be thick and secure but the cross-over detail was a spontaneous decision.

How to Make a Handmade Bikini out of Old Clothes


WHAT DID I LEARN WHILE MAKING THE BIKINI?
Follow me on Instagram for behind-the-scenes on all of my DIYs!


How to Make a Handmade Bikini out of Old Clothes - Tolly Dolly Posh on Instagram

Stick with your initial idea…

One of my main regrets with this project is adding the embroidered stitch to the neckline. Not only did it not come out looking perfect (that’s sewing machines, for you!) but it also made the neckline fit a little looser, where I would have preferred it snug.

But then again, on the contrary, the last minute idea of crossing over the straps worked rather well.

Practice really does make perfect…

Although if you look closely, the finished product might not actually be perfect, doing projects like this really builds your confidence and will most definitely keep you up-to-scratch if you haven’t worked on anything in a while.

Between making the bikini, I worked on making an outfit for a wedding from scratch, which helped me, especially on the sewing machine. This meant that the bikini bottoms only took me a day because I could think of each step a lot more logically.

Loved clothes last…

Despite the fact that the bikini might not be perfect on paper and despite the fact I may have a couple of design-related regrets, love it because I know how much time and effort went into making it.  I’ll always recommend giving a handmade project a go, simply for the chance for you to understand what goes into creating a piece (or two) from scratch.


Want to use the GIF stickers seen in this post? Search “@tollydollyposh” on platforms using GIPHY, such as Instagram Stories. You can see my whole collection of GIFs, here.


What could you transform in your wardrobe? What would you have made with my top? Let me know in the comments!


You Might Also Like

How to Make a Beret Using Old Clothes | #MAKESMTHNG Week

By December 5, 2017 DIY & Lifestyle

If you haven’t been following along, this week is #MAKESMTHNG Week, created by Greenpeace and supported by Fashion Revolution to inspire us all to put down the shopping bags and make something ourselves to take a break from the cycle of endless consumption. After I scratched my itch for some embroidery, I decided to attempt the rather on-trend beret…

MAKESMTHNG Week with Greenpeace & Fashion Revolution: DIY Beret

MAKESMTHNG Week with Greenpeace & Fashion Revolution: DIY Beret


WHAT I USED: Zebra Top & Pink Cashmere Jumper (Originally Secondhand) // Sewing Machine // Pins // 2 x Different Sized Circles // Measuring Tape // Scissors // Felt Tip


Making something that is currently in trend is not only a great way to treasure it for longer due to all of the hard work you put in, it’s also a great way to truly work out whether you’re going to enjoy wearing something for a long period of time, or not, without having to splash much cash or shop from a non-ethical brand.

The idea of making a beret from scratch was mainly born out of my need for a nice-looking winter hat that kept me that little bit warmer but I’m sure subconsciously the fact that they’re popping up everywhere currently was a selling point too.

Recently, my pink cashmere turtle-neck shrunk in the wash – Don’t! Wash! Your! Clothes! Irresponsibly! Kids! – so, once my grieving period was over, I decided it deserved to live on, no matter how badly I wanted it to shrink back to its original state.

MAKESMTHNG Week with Greenpeace & Fashion Revolution: DIY Beret

I also had an old zebra top folded up in my drawer which 13-year-old Tolly loved almost as much, so I took the two of them to my dining table and got to work!

I started with my zebra top to get a feel for what I was doing just in case I didn’t like the outcome and decided to leave the high-quality cashmere for another day. I can’t take credit for the pattern of this beret; I used a guide I found on Instructables which was really simply laid out.

TLDR for the basic hat itself – cut two relatively large circles with one of them cut like a doughnut before sewing them together on your sewing machine, and turning them inside out.

MAKESMTHNG Week with Greenpeace & Fashion Revolution: DIY Beret

MAKESMTHNG Week with Greenpeace & Fashion Revolution: DIY Beret


Just like I did with my first attempt at embroidery, I’m going to list some tips and tricks I worked out along the way, below:


As berets are usually made out of felt, woollen fabrics work best…

I do love the outcome of my zebra beret (it has a different sort of fit and will work with more monochromatic outfits), however, my cashmere jumper definitely worked better fabric wise. Not only does it look more like a traditional beret, it also has a better shape and sits more roundly on my head.

Of course you can experiment with other materials, but if you have an old jumper or sweater lying around, that might be your best bet.

Use lots of pins!

I found my pink beret so much easier to put through the machine because I used far more pins than I had with my zebra beret which was a big rookie error. I’m still not perfectly confident with a machine and have to use it on a relatively slow setting but I could speed things up when I knew my fabric wasn’t going to move about or bunch up under the machine’s foot.

When using an old item of clothing, use your scraps…

For my zebra beret, I used the tight but stretchy high-neck as my headband. This reduced the number of scraps I had left-over and allowed me to skip over the step of creating a new band (like I did with my pink beret).

Although it did involve a bit of skill (gathering was needed), it’s funny and satisfying to think the band which usually stretched over my head, now sits on top of it perfectly.

You can create a faux beret bobble…

Or… nipple/tassel/whatever you’d like to call it. I took a small cutting of my pink cashmere, folded it over and very carefully squeezed it under my machine and went back and forth once or twice to stitch it together and give it some structure.

I then took a needle and my pink thread and hand-sewed it to the centre of my beret. If you do it neatly and discreetly enough, it will stand loud and proud and look like the real thing!


GET INVOLVED WITH #MAKESMNTHNG:
Getting crafty? Tag @makesmthng + @fash_rev in your social media posts with the hashtag #MAKESMNTHNG during the week of December 2nd – December 10th!


Have you been working on any DIYs this week? Share your crafty stories in the comments below…

You Might Also Like