This week marks the inaugural #MAKESMTHNG (Make Something) Week by Greenpeace. The holiday season, especially with sales and promotions such as Black Friday and the Boxing Day sales, is one of the busiest shopping periods of the year and although that may be all well and good – especially for gift-giving and saving money on essentials – it’s a time when we often tend to forget other alternatives like making things…
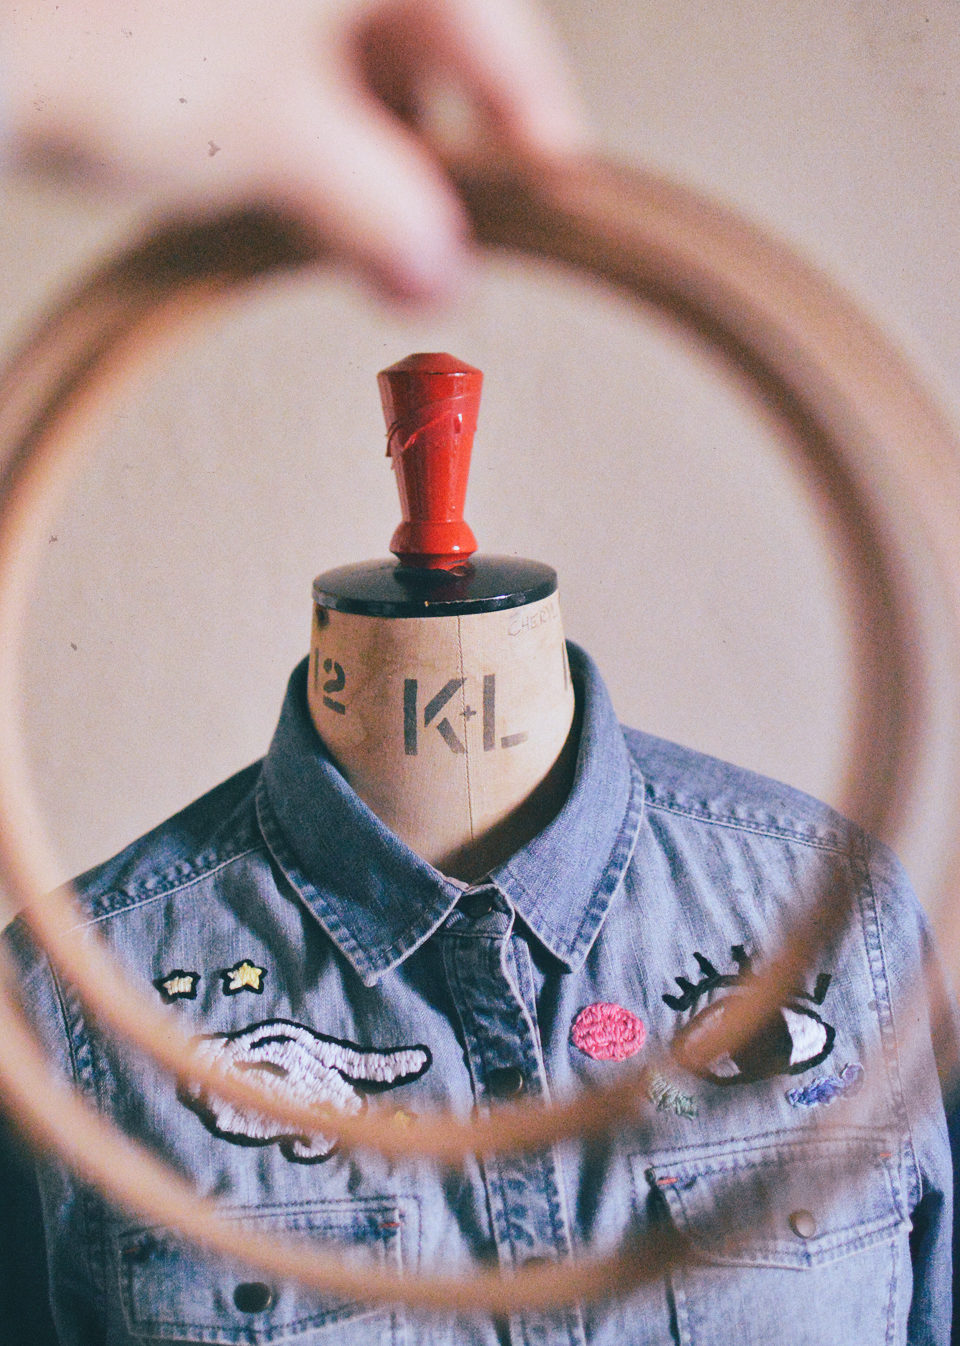
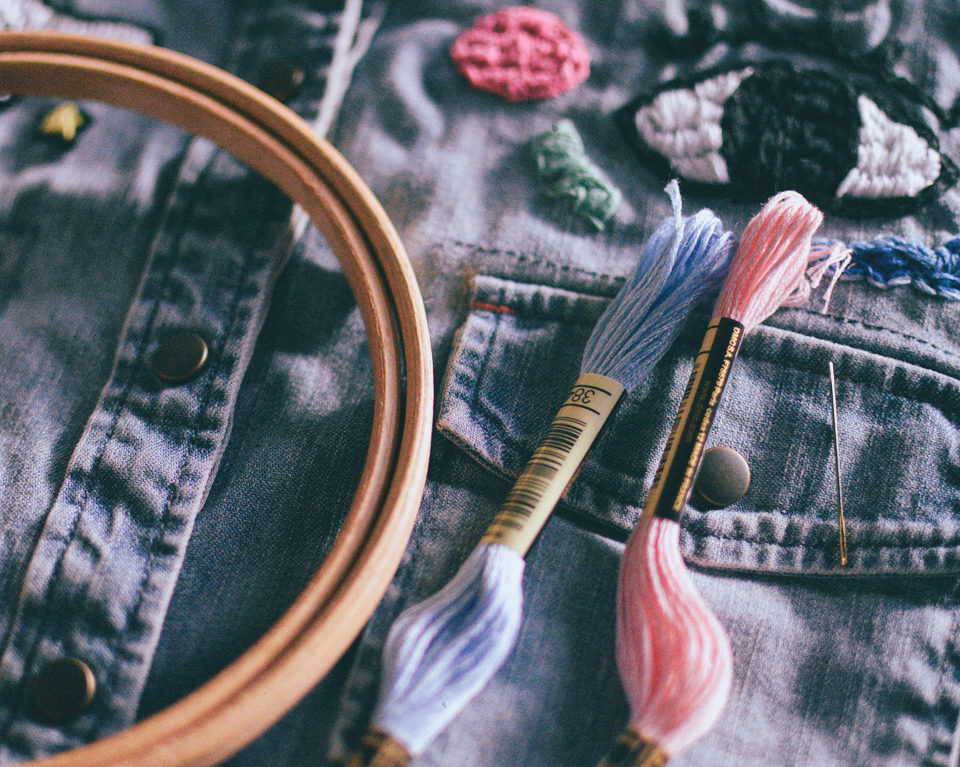
WHAT I USED: Denim Shirt (Originally Johnnie B) // Embroidery Hoops // Embroidery Thread // Embroidery Needles
Instead of shopping, Greenpeace alongside Fashion Revolution, are aiming to inspire us all to make something of our own, whether it be big or small, our first project or one of many, in order to take a break from our culture of over-consumption and take a leaf from someone else’s book to understand the true value of how our clothes are made.
I was asked to take part and I have to say, it’s done the trick. I started off small myself as admittedly, I’m still on a journey when it comes to the actual creation of clothes and accessories.
There’s a lot to it and it can feel awfully daunting if you’ve never put needle-to-fabric or iron-to-iron-on-patch, before! The inspiration behind my first project came mainly from the wonderfully woven artwork I’ve been following along on Instagram lately.
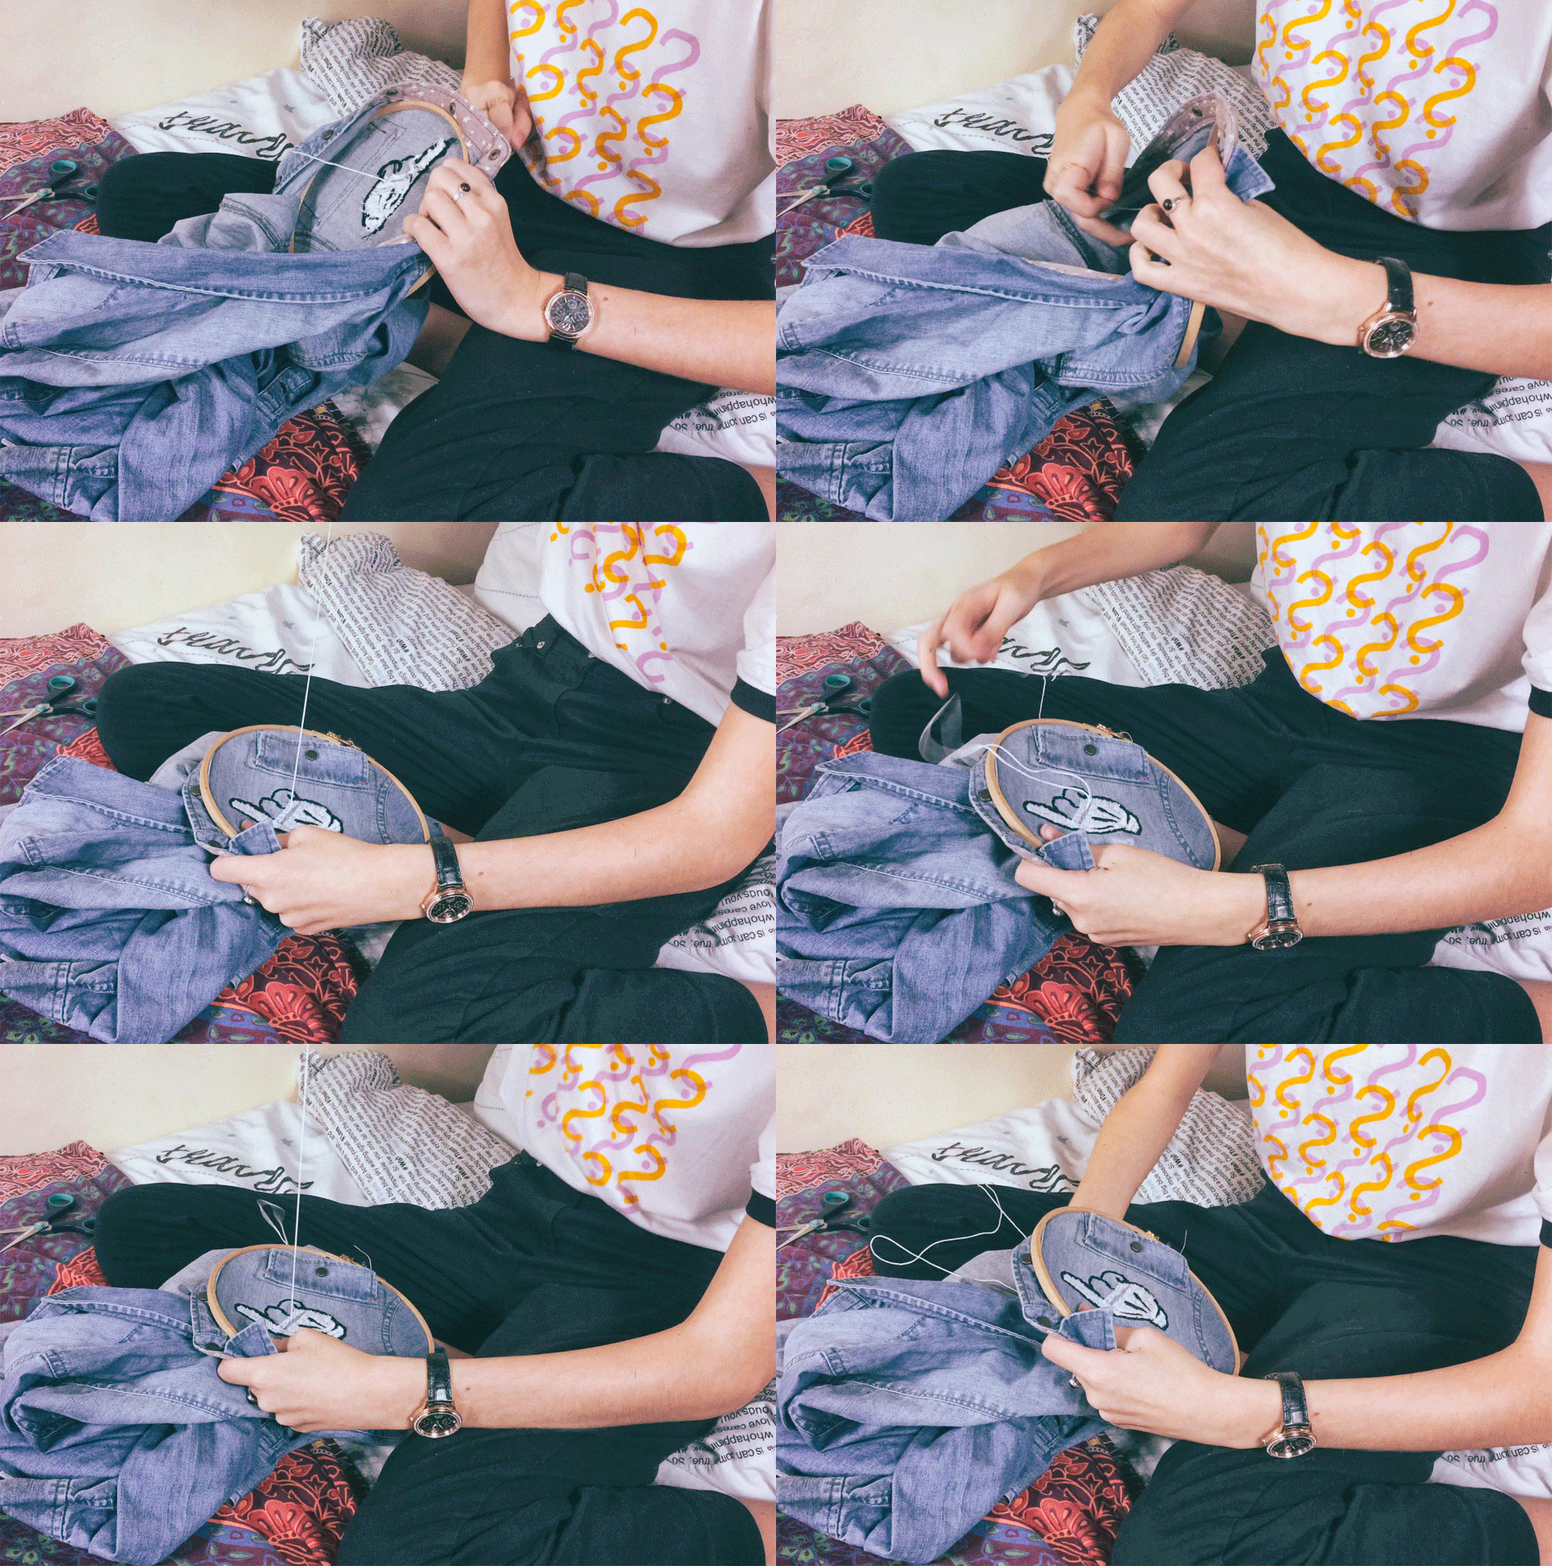
Embroidery may be a trend which flows in-and-out of the fashion cycle every other season but it’s actually a craft which originates from even as early as 300 AD (according to Stitches in Time). Now you can find examples of embroidery by designers such as Valentino – it’s one of the reasons I admire their haute-couture collections so much.
As I said, I’m still an amateur in certain areas and although I’ve dabbled in cross-stitch work in the past, I’ve never properly attempted embroidery.
Fuelled by #MAKESMTHNG motivation, I picked up an embroidery hoop, some threads in primary colours and a pack of needles and got stitching some #MAKESMTHNG imagery on to a denim shirt-dress I owned double-of.
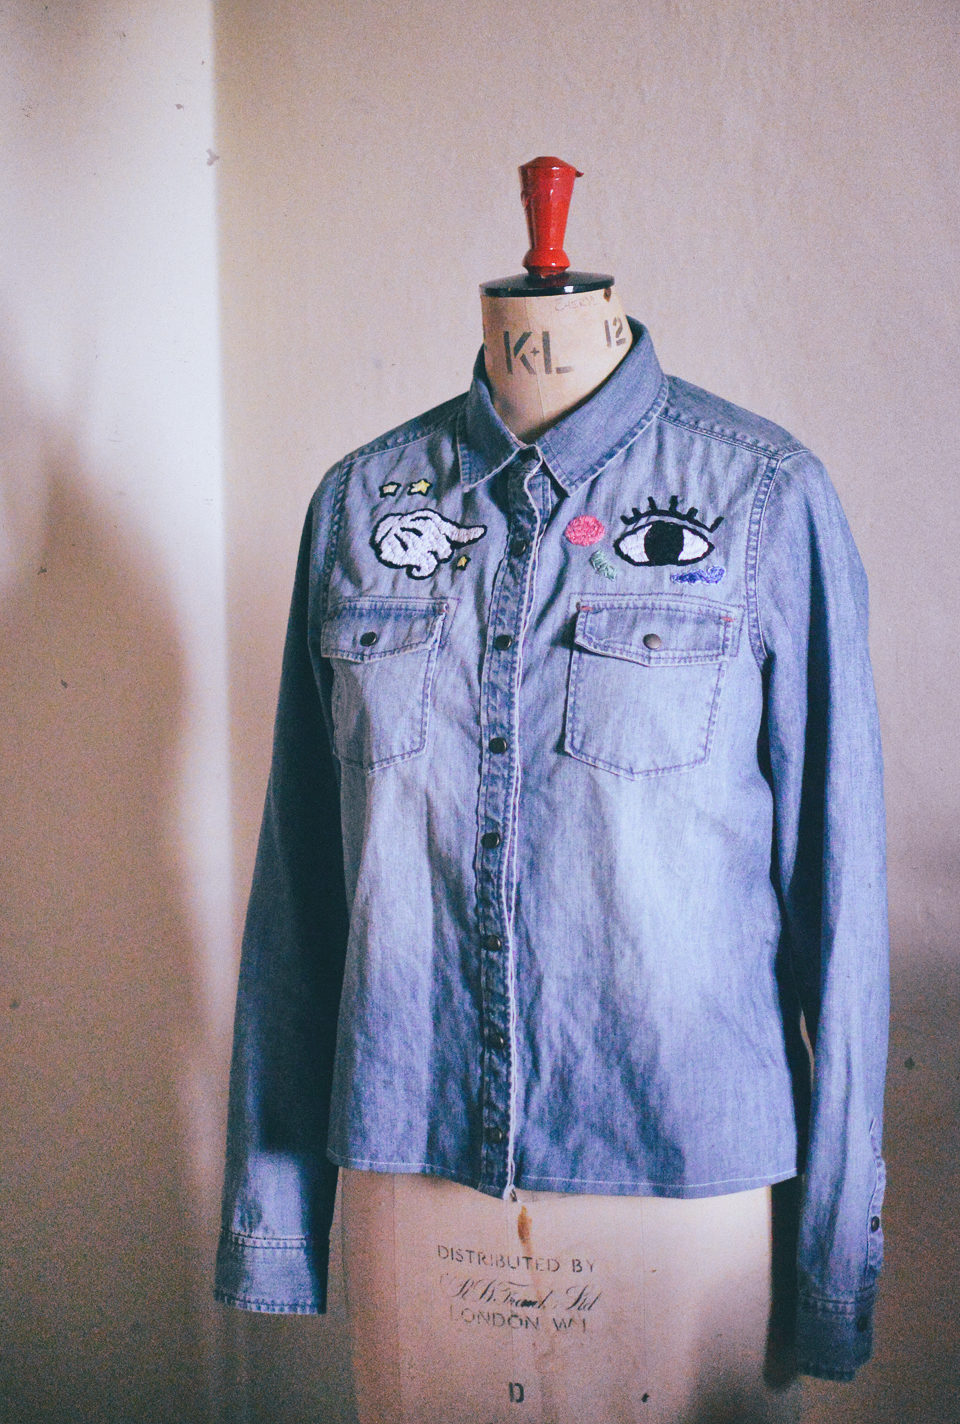
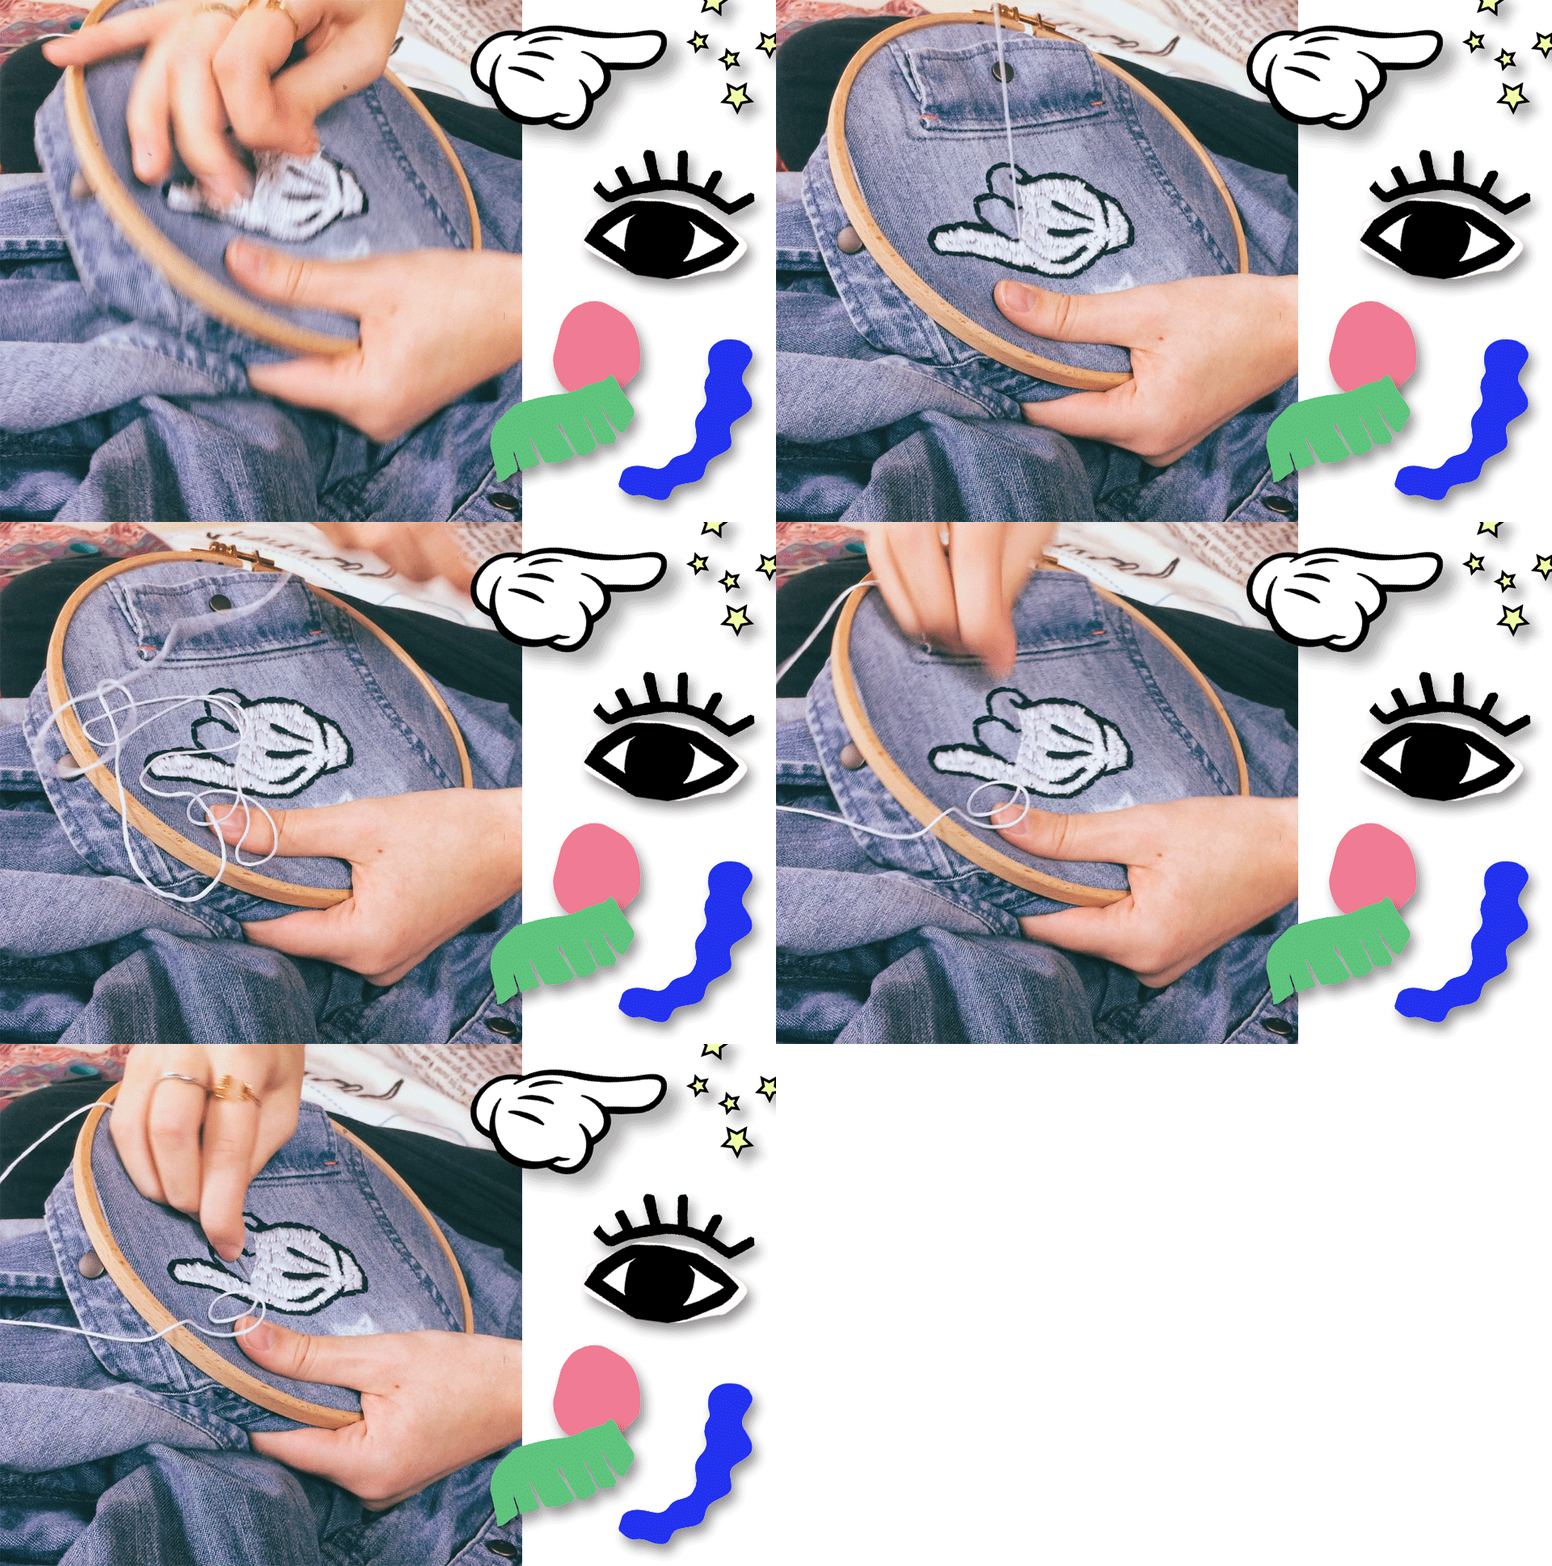
Later on, I also went on to chop down and hem the shirt-dress into a blouse – using a sewing machine – and added a new popper, which was the reason I hadn’t been wearing it in the first place, therefore bringing new life to something that was shoved in a bin-bag.
Here is my advice for helping any fellow embroidery novices:
Having a basic sewing knowledge will help…
Although I definitely had to head to YouTube for some tips on how to achieve different stitches, actually putting them into practice was far easier than I thought because it’s not too far removed from ordinary sewing.
I would recommend having a practice on a scrap piece of fabric (or maybe a t-shirt you could easily unpick on) so that you feel more confident when you start off. Straight stitch is as simple as going in and out of the fabric and back stitch is as simple as going in, well, backwards. Speaking of which…
Don’t feel like you have to use a strict stitching pattern…
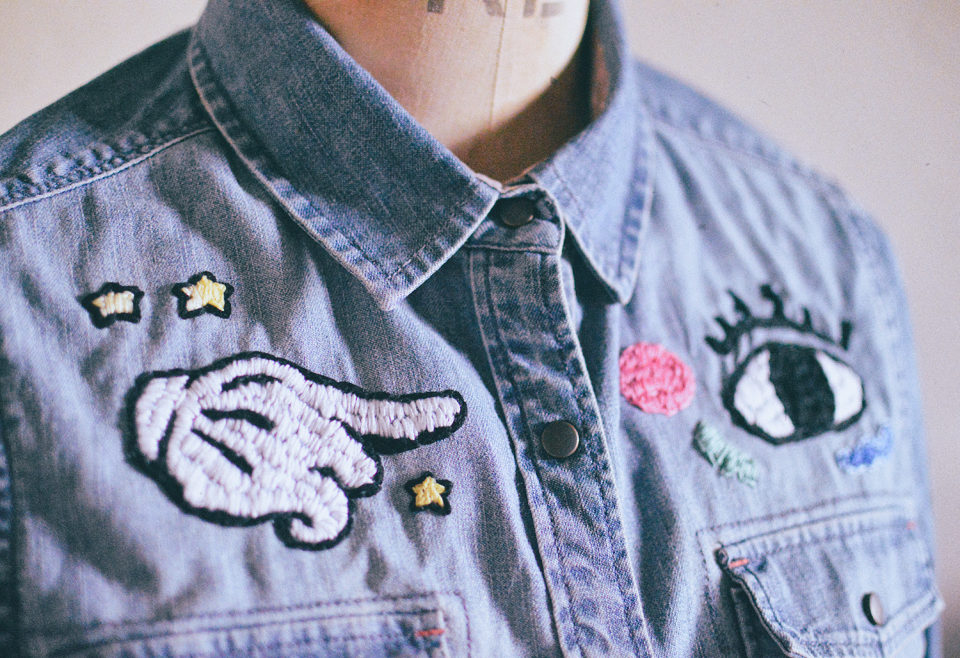
Of course, sticking to the same style of stitch is essential in certain scenarios but don’t feel like you have to only use one style to complete something. I used a mix of straight, back, satin and split stitches to achieve all of the shapes I was working on.
I sort of winged-it in a sense, using what stitch felt best on each area. Satin stitch – stitching as close together as possible – will of course always be easiest for filling in blocks of colour.
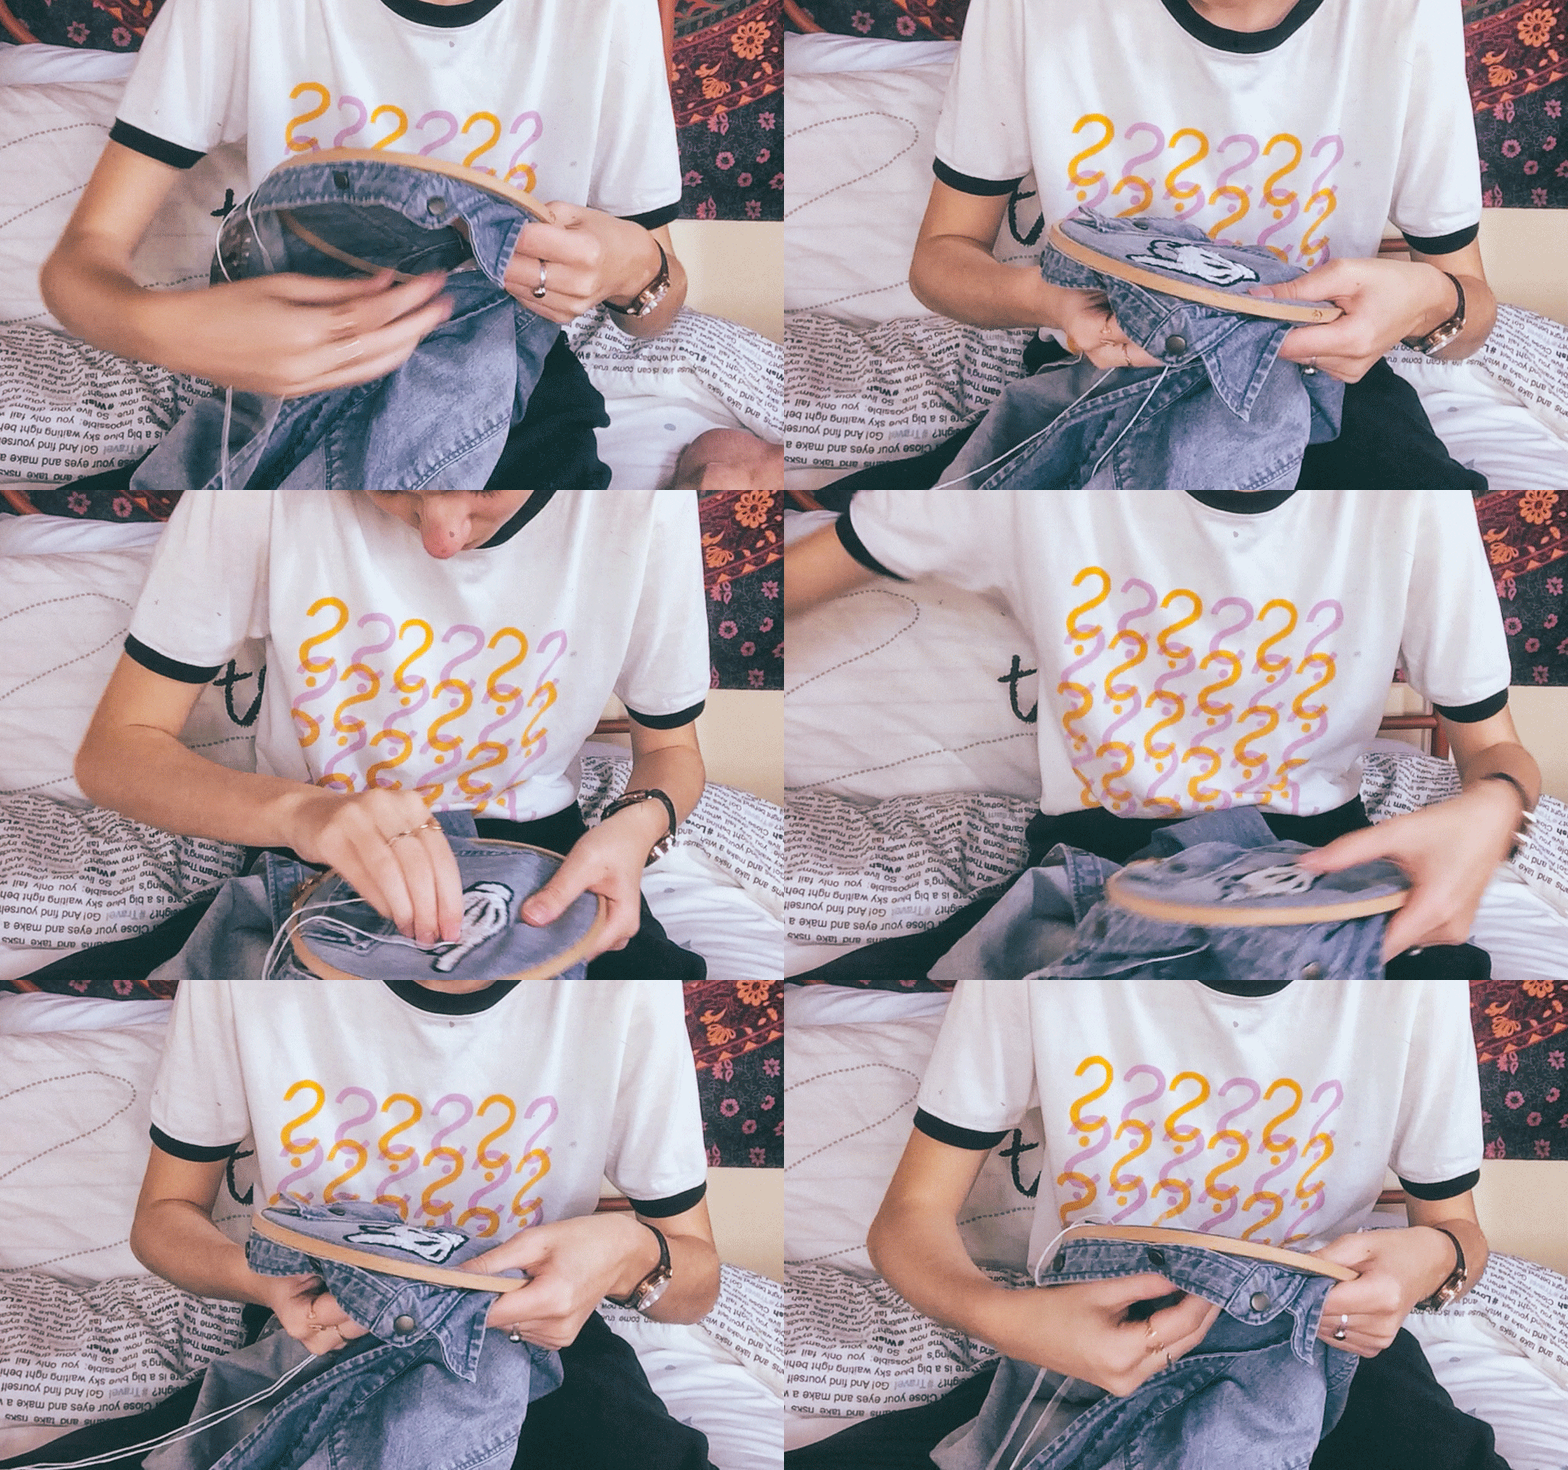
WHAT I WORE: Many Questions T-Shirt £20.00 (Lost Shapes x Tolly Dolly Posh) // Black Trousers (Charity Shop) // Watch (Casio)*
Be as even as possible…
You can actually see the difference in me implementing this rather obvious piece of advice just by looking at the hand shape versus the eye shape which I embroidered. The white of the eye is a lot less patchy as I took more time to make my satin stitch as smooth as I could.
Satin stitch works best with smaller areas (see my little yellow stars and the pink circle) but you can definitely achieve a similar effect if you put your mind to it. I’m wondering if this was a little trickier as I was working on a denim fabric – if you’re an embroidery expert, please do let me know!
Use interfacing to avoid fraying…
If you’re going to be embroidering on to an item of clothing, use some iron-on interfacing on the backside of your embroidery work. This will help you avoid it coming undone or lessen the chances of it fraying when you wear it. Seeing as it won’t be visible, you don’t have to be too neat with this.
GET INVOLVED WITH #MAKESMNTHNG:
Getting crafty? Tag @makesmthng + @fash_rev in your social media posts with the hashtag #MAKESMNTHNG during the week of December 2nd – December 10th!
I’ll be back soon with another project but for now, let me know what you’ll be making in the comments…
