If you haven’t been following along, this week is #MAKESMTHNG Week, created by Greenpeace and supported by Fashion Revolution to inspire us all to put down the shopping bags and make something ourselves to take a break from the cycle of endless consumption. After I scratched my itch for some embroidery, I decided to attempt the rather on-trend beret…


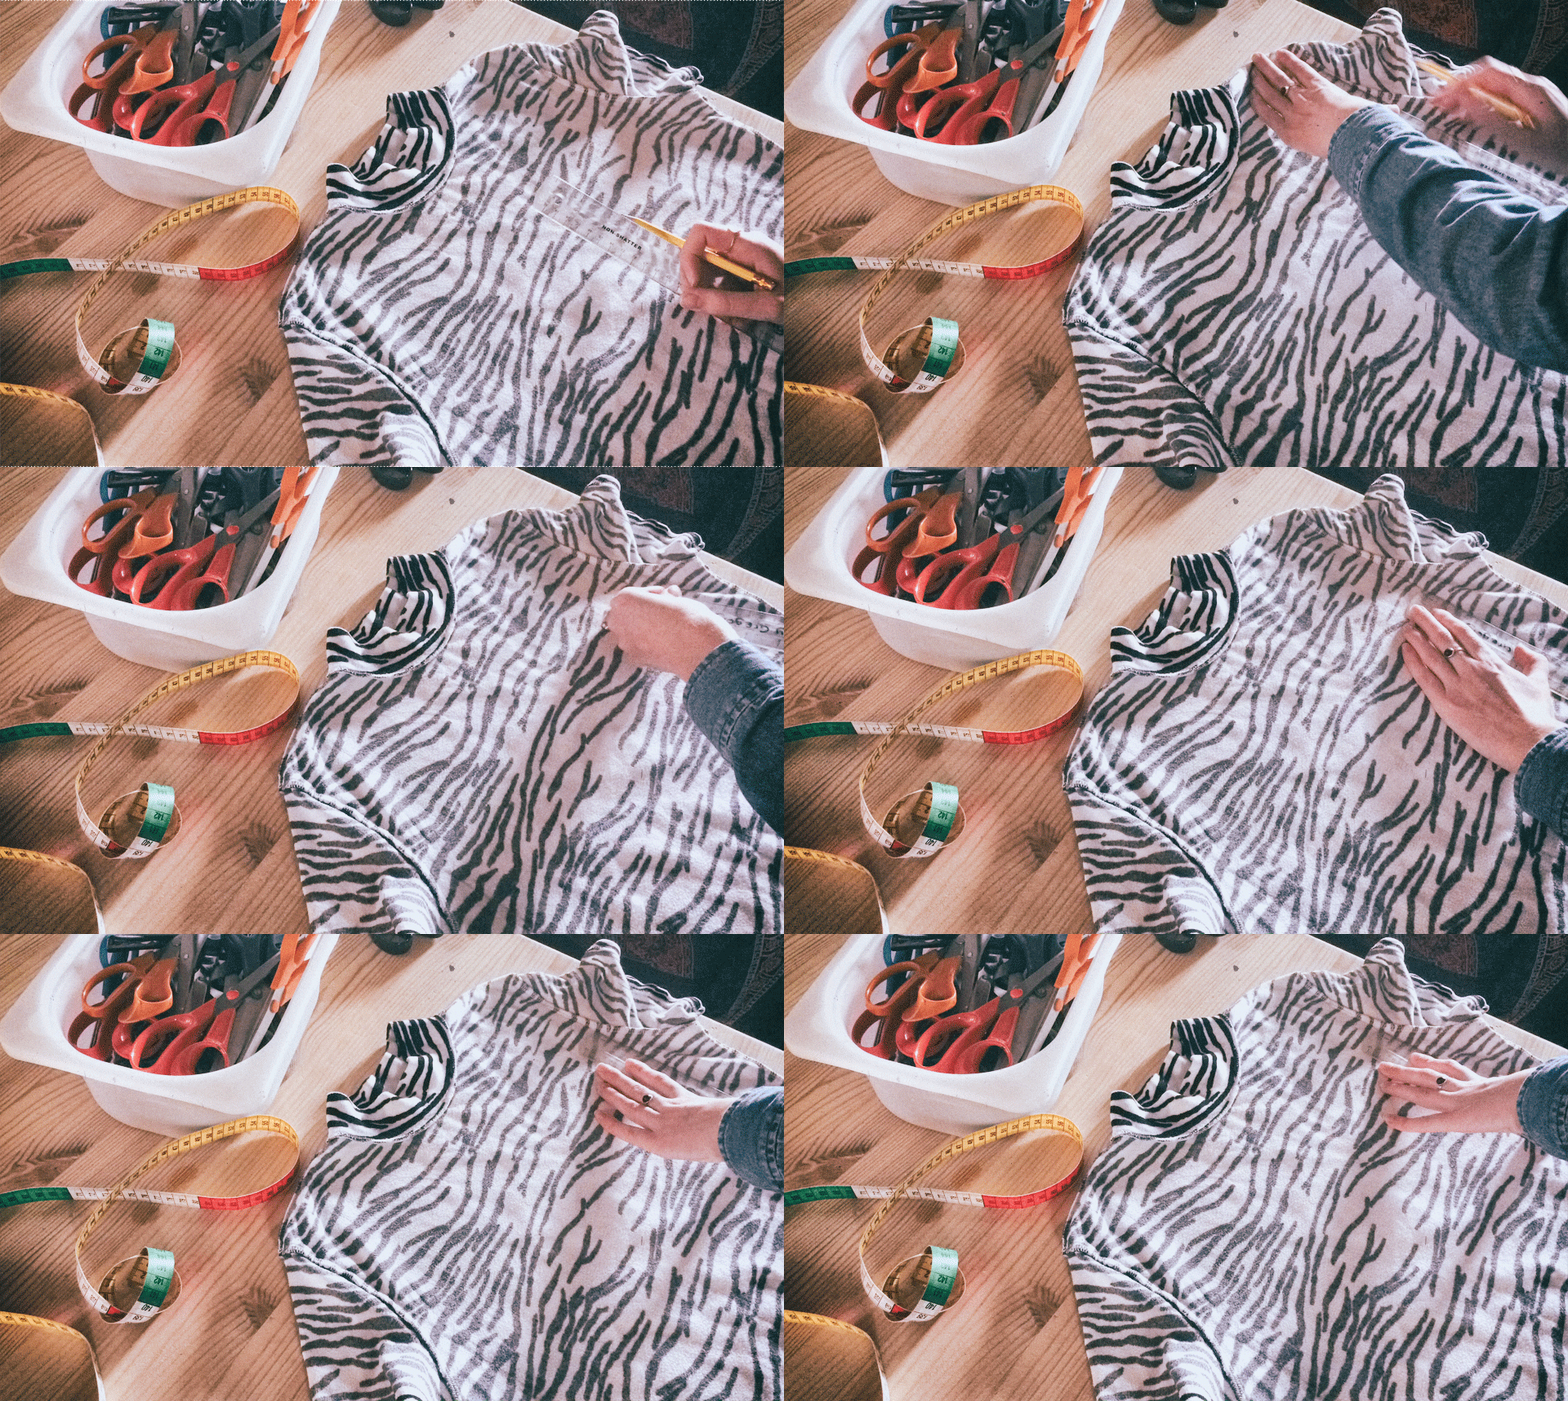
WHAT I USED: Zebra Top & Pink Cashmere Jumper (Originally Secondhand) // Sewing Machine // Pins // 2 x Different Sized Circles // Measuring Tape // Scissors // Felt Tip
Making something that is currently in trend is not only a great way to treasure it for longer due to all of the hard work you put in, it’s also a great way to truly work out whether you’re going to enjoy wearing something for a long period of time, or not, without having to splash much cash or shop from a non-ethical brand.
The idea of making a beret from scratch was mainly born out of my need for a nice-looking winter hat that kept me that little bit warmer but I’m sure subconsciously the fact that they’re popping up everywhere currently was a selling point too.
Recently, my pink cashmere turtle-neck shrunk in the wash – Don’t! Wash! Your! Clothes! Irresponsibly! Kids! – so, once my grieving period was over, I decided it deserved to live on, no matter how badly I wanted it to shrink back to its original state.

I also had an old zebra top folded up in my drawer which 13-year-old Tolly loved almost as much, so I took the two of them to my dining table and got to work!
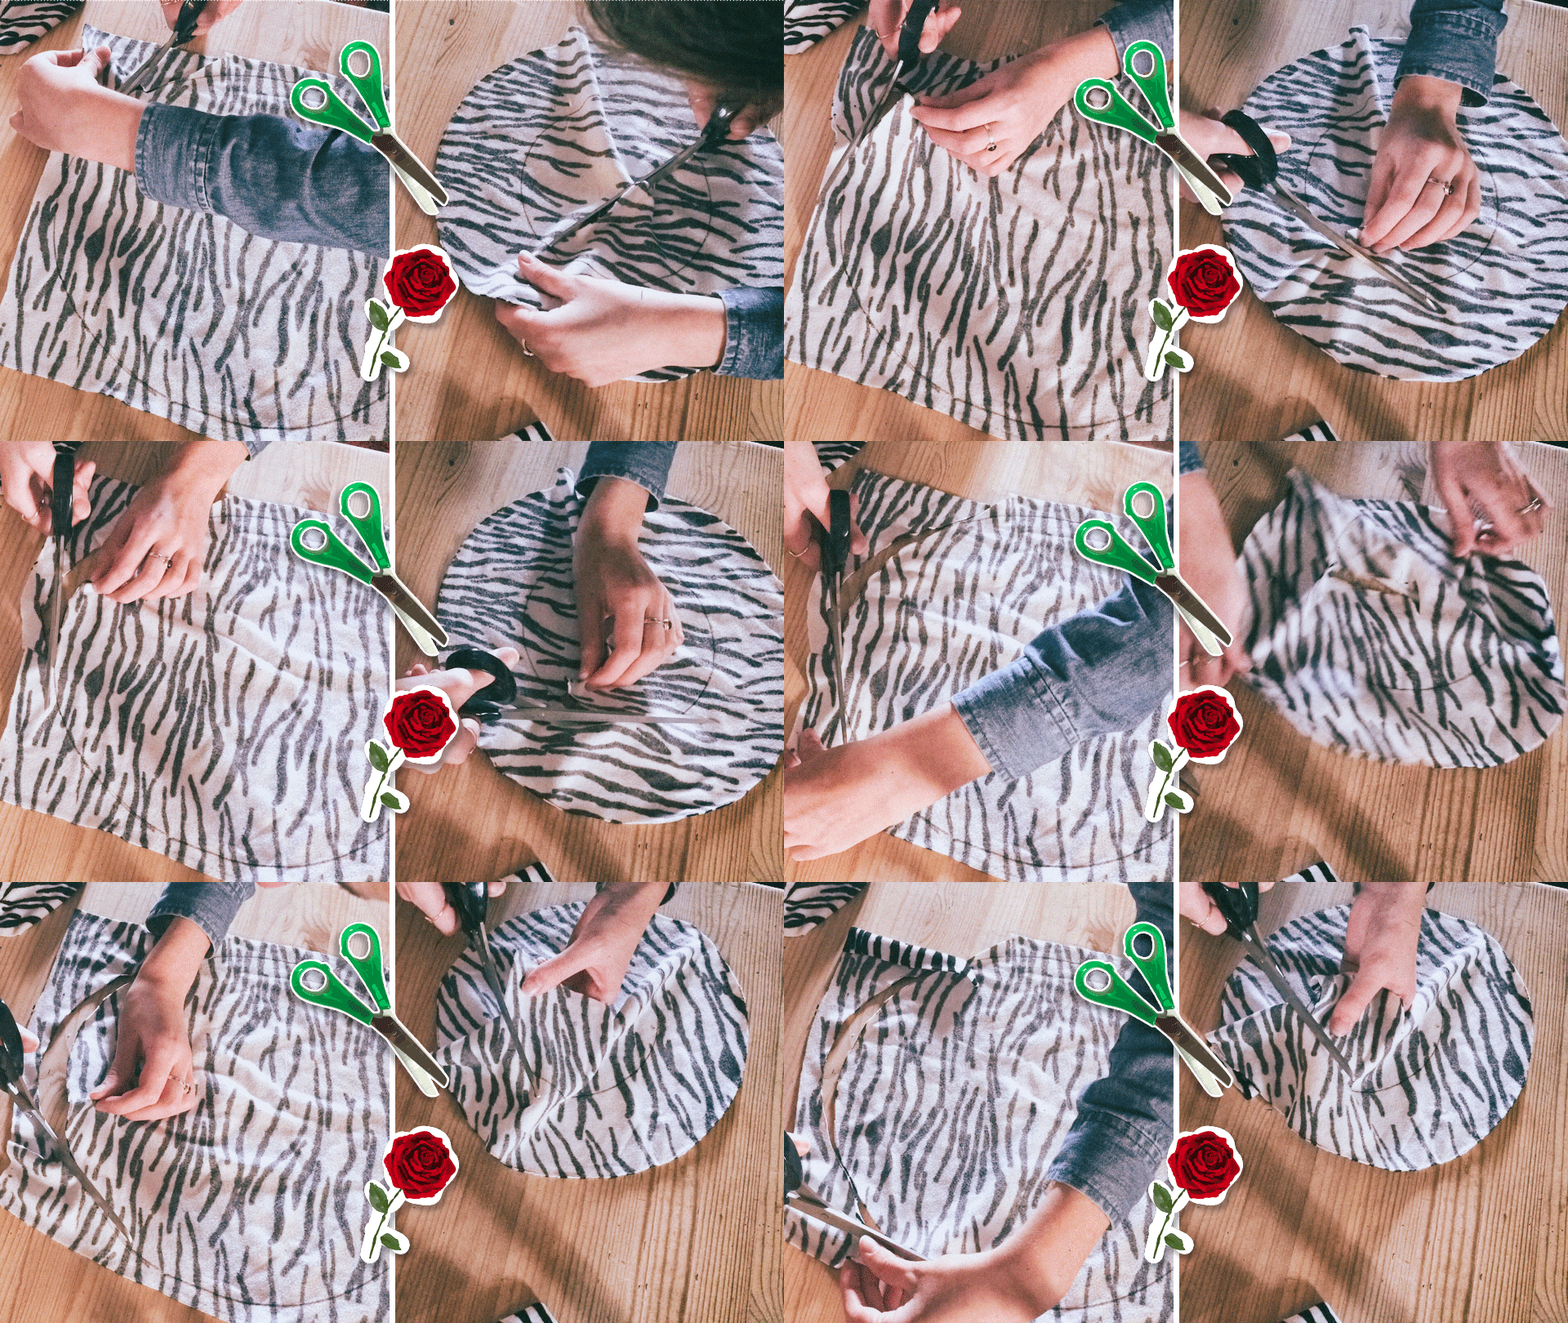
I started with my zebra top to get a feel for what I was doing just in case I didn’t like the outcome and decided to leave the high-quality cashmere for another day. I can’t take credit for the pattern of this beret; I used a guide I found on Instructables which was really simply laid out.
TLDR for the basic hat itself – cut two relatively large circles with one of them cut like a doughnut before sewing them together on your sewing machine, and turning them inside out.


Just like I did with my first attempt at embroidery, I’m going to list some tips and tricks I worked out along the way, below:
As berets are usually made out of felt, woollen fabrics work best…
I do love the outcome of my zebra beret (it has a different sort of fit and will work with more monochromatic outfits), however, my cashmere jumper definitely worked better fabric wise. Not only does it look more like a traditional beret, it also has a better shape and sits more roundly on my head.
Of course you can experiment with other materials, but if you have an old jumper or sweater lying around, that might be your best bet.

Use lots of pins!
I found my pink beret so much easier to put through the machine because I used far more pins than I had with my zebra beret which was a big rookie error. I’m still not perfectly confident with a machine and have to use it on a relatively slow setting but I could speed things up when I knew my fabric wasn’t going to move about or bunch up under the machine’s foot.
When using an old item of clothing, use your scraps…
For my zebra beret, I used the tight but stretchy high-neck as my headband. This reduced the number of scraps I had left-over and allowed me to skip over the step of creating a new band (like I did with my pink beret).
Although it did involve a bit of skill (gathering was needed), it’s funny and satisfying to think the band which usually stretched over my head, now sits on top of it perfectly.

You can create a faux beret bobble…
Or… nipple/tassel/whatever you’d like to call it. I took a small cutting of my pink cashmere, folded it over and very carefully squeezed it under my machine and went back and forth once or twice to stitch it together and give it some structure.
I then took a needle and my pink thread and hand-sewed it to the centre of my beret. If you do it neatly and discreetly enough, it will stand loud and proud and look like the real thing!
GET INVOLVED WITH #MAKESMNTHNG:
Getting crafty? Tag @makesmthng + @fash_rev in your social media posts with the hashtag #MAKESMNTHNG during the week of December 2nd – December 10th!
Have you been working on any DIYs this week? Share your crafty stories in the comments below…


